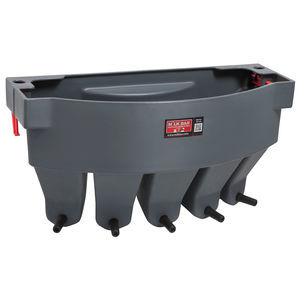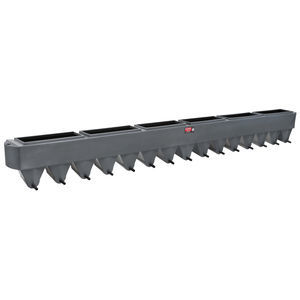
Lamb nursing bucket 910200for calvesfoalplastic
Add to favorites
Compare this product
Characteristics
- Animal type
- for lambs, for calves, foal
- Material
- plastic
- Other characteristic
- with drinking nipples, multi-access
- Capacity (l)
15 l
(4 gal)
Description
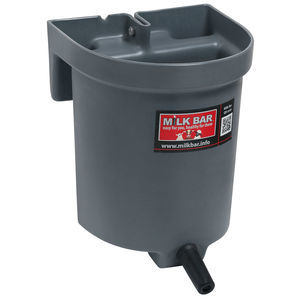
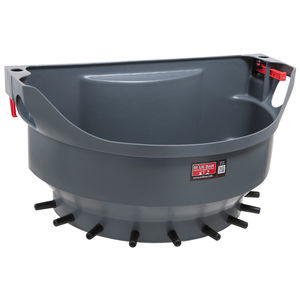
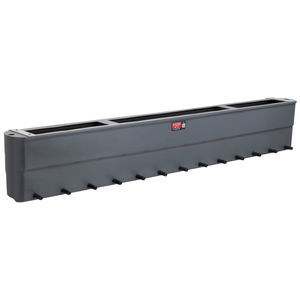
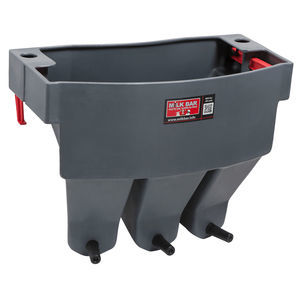
The first ever gravity group feeder!
The sturdy carry handle makes it easy to carry the feeder full of milk to your calves.
The moulded plastic hooks are stepped to sit on either 25mm or 40mm rails and there is a self latching catch that drops under a pipe rail to prevent it being bunted off.
Gradients are marked at 5L and the teats sit low in the milk channel.
This Milk Bar™ 5 is deceptive, because of the shape, it can accommodate very large calves.
There is an optional extra lid to protect milk from flies in hot climates and heat loss in cold.
How to use
You can hang the Milk Bar™ 5 on rails or pipes from 25mm to 40mm wide. Make sure you don’t force the feeder onto a wider rail as it can result in cracking the base of the hook.
To give your calves the best drinking position, hang the feeder on a rail around 96 cm high. This puts the teat at 60cm which is the optimum height for calves and helps the oesophageal groove to close and milk to bypass the rumen.
How do I change my teats?
Milk Bar™ Teats have a pull through design to sit snugly against the feeder wall for optimum hygiene. However, while this is the most hygienic system, it can also be difficult to change teats!
Use a Teat Tool: This is by far the easiest method. The purpose designed Teat Tool plucks the teat from the feeder with minimal effort in seconds.
Pull the teats out by hand: When removing by hand, make sure to either pull the teat directly down or up. If you try to pull the teat straight out, it will be a tough job!
Cut the teats out: Make sure the blade is sharp and you use the knife away from you.
Be sure to check the teat alignment is correct and the slit is vertical!
Catalogs
Milk Bar™ 5
3 Pages
Related Searches
- Drinker
- Plastic drinker
- Bowl drinker
- Trough drinker
- Multi-access drinker
- Hopper feeder
- Trough
- Multi-access hopper feeder
- Single access drinker
- Metal trough
- Multi-access trough
- Wall-mounted drinker
- Plastic trough
- Plastic hopper feeder
- Sheep drinker
- Cattle trough
- Polyethylene drinker
- Nursing bucket
- Goat drinker
- Plastic nursing bucket
*Prices are pre-tax. They exclude delivery charges and customs duties and do not include additional charges for installation or activation options. Prices are indicative only and may vary by country, with changes to the cost of raw materials and exchange rates.


